


The Wyze Garage Door Controller offers a smart and simple solution to remotely control and monitor your garage door. With compatibility with most garage door openers and an easy installation process, it incorporates the award-winning Wyze Cam v3 for 1080p HD video streaming and AI vision-sensing technology to detect the door’s status. This article provides a comprehensive guide on how to install the Wyze Garage Door Controller, ensuring a seamless upgrade to your home’s security and convenience.
Key Takeaways
- Before purchasing, use the online compatibility checker to ensure the Wyze Garage Door Controller works with your existing garage door opener.
- Installation is straightforward, typically taking 10-20 minutes, and does not require replacing your existing equipment or complicated sensor wiring.
- The Wyze Cam v3 included with the controller enables 1080p HD video streaming and uses AI vision-sensing to notify you when the garage door is open or closed.
Preparing for Your Wyze Garage Door Controller Installation
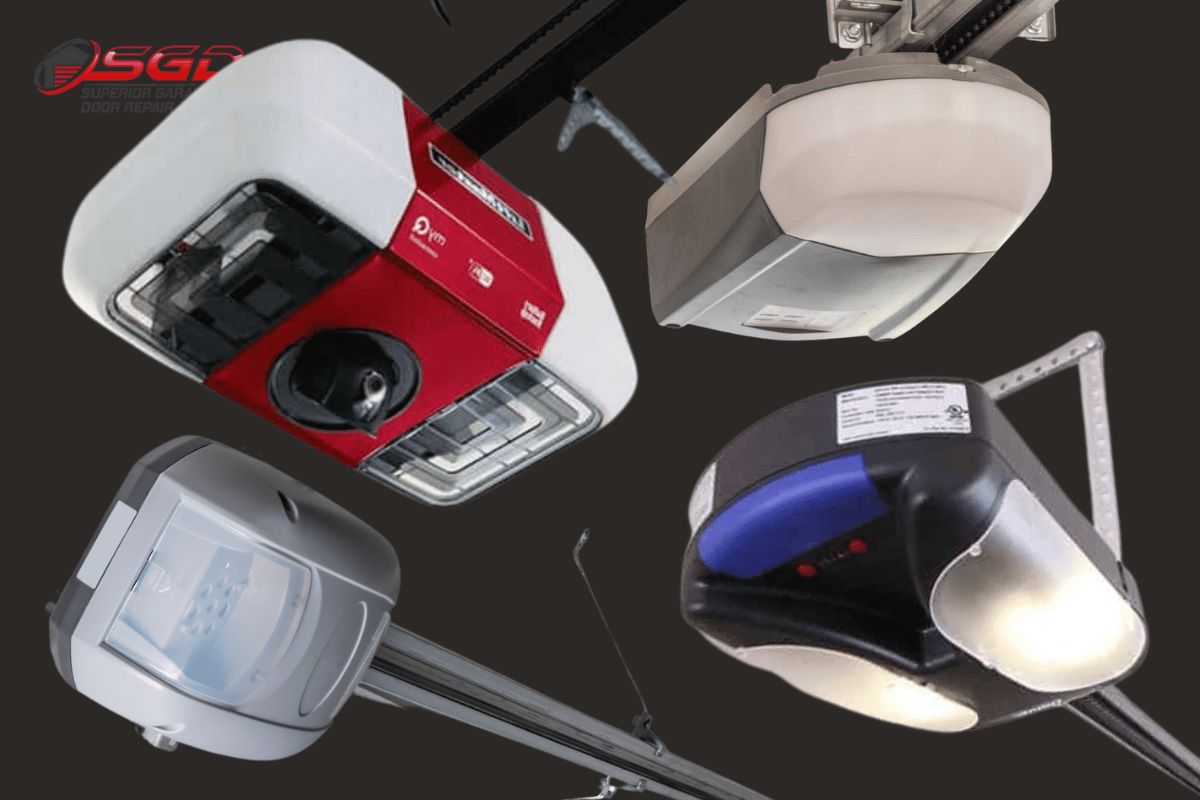
Checking Compatibility with Your Garage Door Opener
Before proceeding with the installation of your Wyze Garage Door Controller, it’s crucial to ensure that your existing garage door opener is compatible. Check the color of the ‘Learn’ button on your opener or attempt to short the terminals; if your garage door responds by opening or closing, compatibility is likely.
However, if shorting the terminals has no effect, your opener may not be compatible with the Wyze system.
For a more comprehensive compatibility check, Wyze provides an online tool. Visit the Wyze Garage Door Controller Compatibility Guide at www.wyze.com/garage-controller-compatibility and search for your specific model. This step is essential to avoid any installation issues down the line.
Remember, not all garage door openers will work with the Wyze Controller. Compatibility extends to most models manufactured after 1993 that adhere to the UL325 Safety Requirements and the Security+ 2.0 protocol.
Gathering the Necessary Tools and Equipment
Before you begin the installation of your Wyze Garage Door Controller, it’s essential to ensure you have all the necessary tools and equipment on hand. Having the right tools will make the installation process smoother and more efficient.
Here’s what you’ll need:
- Wyze Garage Door Controller
- QR Code Sticker
- Micro USB Cable Splitter
- Warning Placard
- 5V 2A Power Adapter
- 5V 2A Power Cord
- Adhesive Mounting Sticker
- Cable Clips
- Quick Start Guide
Remember, if you encounter any missing or damaged parts, you can check the help center or find a list of related camera parts for assistance.
It’s also worth noting that the Wyze Garage Door Controller is designed to work with your existing equipment, which means there’s no need to replace your current garage door opener. This compatibility ensures that the installation will be a breeze, allowing you to quickly enjoy the convenience of your new smart garage door opener.
Understanding the Installation Process
Before diving into the actual installation of your Wyze Garage Door Controller, it’s crucial to have a clear understanding of the process. Installation is straightforward, with the Wyze app providing an easy-to-follow guide. Customers often praise the simplicity of the setup, noting that the app’s instructions are well-crafted and user-friendly.
- Ensure you have downloaded the Wyze app to your smartphone.
- Familiarize yourself with the app’s interface and the installation section.
- Review the step-by-step instructions within the app before starting.
Remember, a successful installation hinges on careful preparation. Take the time to thoroughly understand each step to avoid any hiccups along the way.
Testing the system post-installation is as important as the setup itself. Users have reported that the app’s notification feature is particularly useful, sending open/close alerts with video footage. This not only enhances security but also provides a visual confirmation of the door’s status.
Step-by-Step Guide to Installing Your Wyze Garage Door Controller
Connecting the Controller to Your Garage Door Opener
Once you have verified the compatibility of your garage door opener with the Wyze Garage Door Controller, it’s time to connect the controller. Begin by locating the control lines from your wall remote to the garage opener. These are typically low-voltage wires that connect the remote’s button to the opener’s motor unit.
- Turn off the power to your garage door opener to ensure safety during installation.
- Identify the terminals on your garage door opener where the wall remote wires are connected.
- Disconnect the wall remote wires from the opener.
- Connect the Wyze controller wires to the same terminals.
- Reconnect the wall remote wires alongside the Wyze controller wires.
Ensure that the connections are secure and that the wires are not frayed or damaged. A loose connection can lead to intermittent operation or non-functionality of your garage door.
After the physical connection is made, restore power to the garage door opener and proceed to the next step of mounting the Wyze Cam v3.
Mounting the Wyze Cam v3 and Positioning the QR Code
Once the Wyze Cam v3 is securely mounted and the QR code is positioned, the next step is to set up the Wyze app on your smartphone. Follow the in-app installation guide for a smooth setup process. The Wyze app provides step-by-step instructions with illustrations to ensure you can easily configure your new garage door controller.
Ensure that the USB cable of the Wyze Cam v3 is properly shielded to avoid interference with garage door clickers. The garage door controller version of the Wyze Cam v3 comes with a round-shaped USB cable designed to minimize signal disruption.
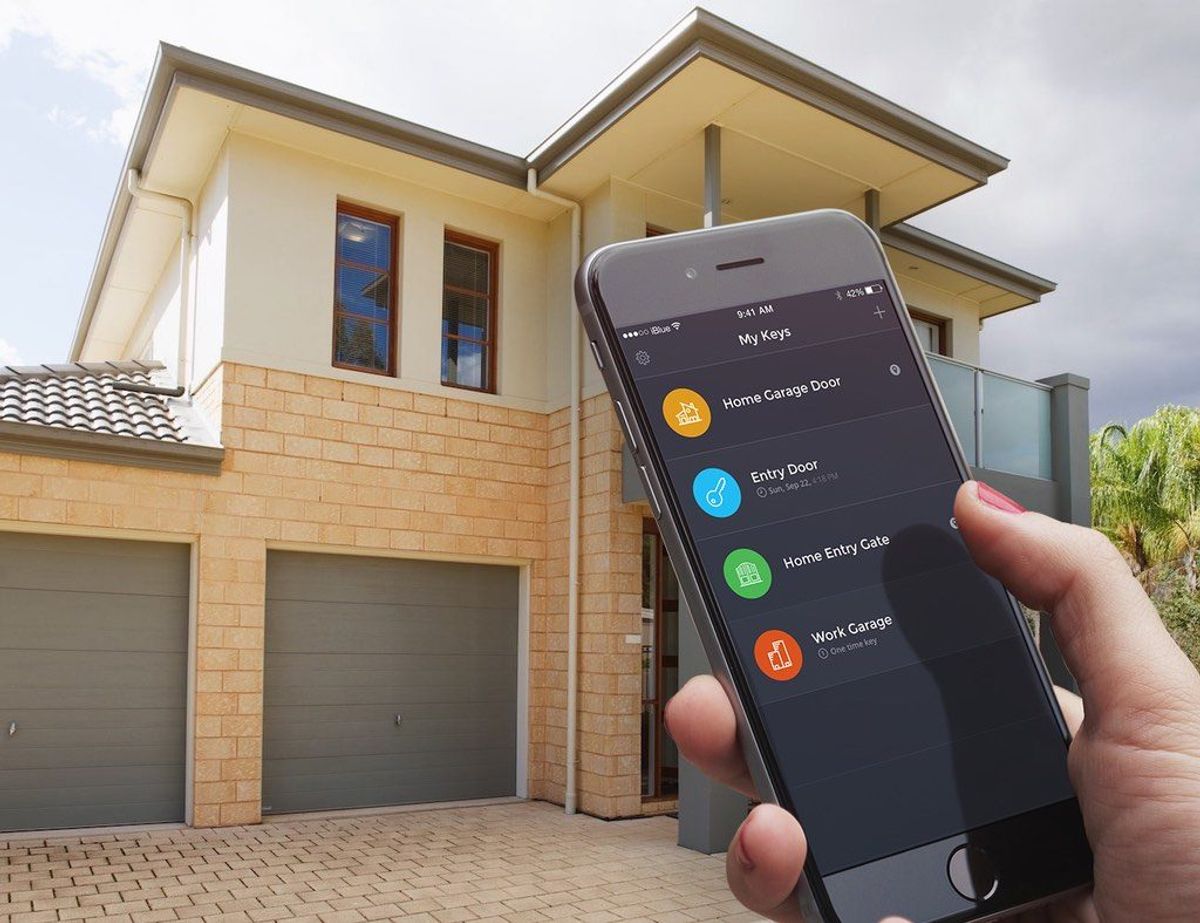
After installing the app, add your Wyze Garage Door Controller by tapping ‘Home’, then the ‘+’ sign, and selecting ‘Add Device’. Navigate to ‘Cameras’ and choose ‘Wyze Garage Door’. Adjust the camera angle as needed; the app allows you to flip the view if the camera is mounted upside down. Finally, test the voice control features with Alexa or Google Assistant to ensure your garage door can be operated hands-free.
Setting Up the Wyze App and Configuring Settings
Once your Wyze Garage Door Controller is physically installed, the next crucial step is to set up the Wyze app on your smartphone. Download the Wyze app from your respective app store and create an account if you haven’t already. Sign in to begin the configuration process.
To ensure a seamless experience, follow these steps:
- Add the Wyze Garage Door Controller to your list of devices within the app.
- Configure your device settings, such as notification preferences and sharing permissions.
- Integrate with third-party services for enhanced functionality. For example, for Google Assistant integration, navigate to Settings > Accessories > Garage Door Controller > Third Party Integration > Google Assistant.
Remember to check for any firmware updates and install them to keep your device running smoothly and securely.
After completing these steps, your Wyze Garage Door Controller should be ready to use. Take a moment to familiarize yourself with the app’s features and settings to make the most out of your new smart garage controller.
Testing and Troubleshooting Common Installation Issues
After successfully installing your Wyze Garage Door Controller, it’s crucial to test the system to ensure everything is functioning as expected. Begin by checking the live stream from the Wyze Cam v3 to confirm it has a clear view of the garage door and the QR code. If you encounter issues such as delayed notifications or live streaming problems, these could be indicative of firmware bugs or app-related issues.
Common problems and their potential fixes include:
- Firmware update failures: If the update fails repeatedly, submit a log and contact Wyze support.
- Connection issues: Ensure your device’s Wi-Fi connection is stable and retry.
- App glitches: Update the Wyze app to the latest version to resolve known bugs.
Remember, if troubleshooting doesn’t resolve the issue, Wyze support is available to assist you.
For a comprehensive list of known issues and workarounds, refer to the Wyze Software and Firmware Bugs and Known Issues page. This resource is regularly updated and can be invaluable for resolving less common problems.
Conclusion
In conclusion, the Wyze Garage Door Controller offers a convenient and innovative solution for remotely managing your garage door. Its compatibility with most existing garage door openers and the easy installation process make it an attractive option for homeowners looking to enhance their garage’s functionality. The inclusion of the Wyze Cam v3 allows for high-definition video streaming and security features such as motion detection and a mini-siren, adding an extra layer of security and convenience. Before purchasing, it’s crucial to check the compatibility of your garage door opener with the Wyze system to ensure a seamless setup. Overall, the Wyze Garage Door Controller is a cost-effective and efficient way to modernize your garage door system without the need for extensive modifications or replacements.
Frequently Asked Questions
Is the Wyze Garage Door Controller compatible with all garage door openers?
No, the Wyze Garage Door Controller is compatible with most, but not all, garage door opener models. It’s important to use the online compatibility checker at www.wyze.com/garage-controller-compatibility before purchasing to ensure your garage door opener is compatible.
What tools and equipment will I need to install the Wyze Garage Door Controller?
The installation process is designed to be simple and usually requires basic hand tools that most homeowners have, such as a screwdriver. You’ll also need to ensure an electrical outlet is available for the Wyze Cam v3. All necessary mounting equipment is included with your Wyze Garage Door Controller purchase.
How long does it take to install and set up the Wyze Garage Door Controller?
The installation and setup process for the Wyze Garage Door Controller typically takes about 10-20 minutes. The process involves connecting the controller to your garage door opener, mounting the Wyze Cam v3, and setting up the Wyze app on your smart device.